

I am going back to basics in my kitchen today and learning how to churn my own butter. This is the first time i made my own butter and i am ecstatic to share a tutorial with those who might be interested in giving it a go too. It is super fun and almost a magical illusion to see the butter coming together. Excited??? lets make home made butter !
I have been planning to make my own butter at home for many many months now and even though i knew the basic techniques, something was holding me back from trying it out for myself. Back in India, my mom often makes butter at home. She keeps a stock of fresh cream that she skims from milk everyday and over a few weeks, she collects enough cream to make butter at home. She often beats the cream using a hand whisk and obviously that takes a lot of effort but then hey, she is quick at that 🙂
For making my life easier, i decided to try make butter using a stand mixer.
I researched a bit online and managed to find one article which explained the process in detail. I figured out that it is not all that difficult, which gave me the boost i was looking for. The very next day, i went ahead and bought a quart of heavy whipping cream and here is what i did. Have a look
Home made Butter
home made butter
 Ingredients
- 1ltr/1 Quart Heavy Whipping cream, chilled
- 3-4 cups chilled water (for cleaning the butter)
Equipment
- Mixer (I used Kitchen Aid stand mixer with Whipping attachment)
- Splash screen
- Spatula
- 2 Containers to store the butter and buttermilk
- Sieve
- kitchen towels to clean out the mess
Method
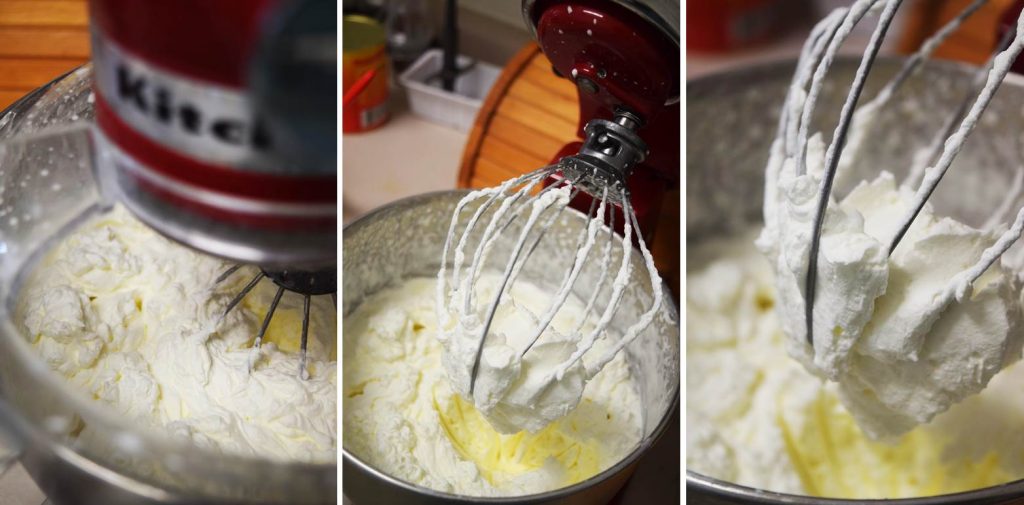
- We begin with whipping the heavy whipping cream till it forms stiff peaks. I attached the whisk attachment to the stand mixer. Place the splash screen on the machine. Start the machine at the lowest speed-2 and increase it to the maximum- 10. This step takes about 3-4 minutes. Notice that the color of the cream starts changing to a light yellowish hue as the cream starts to coagulate for butter.
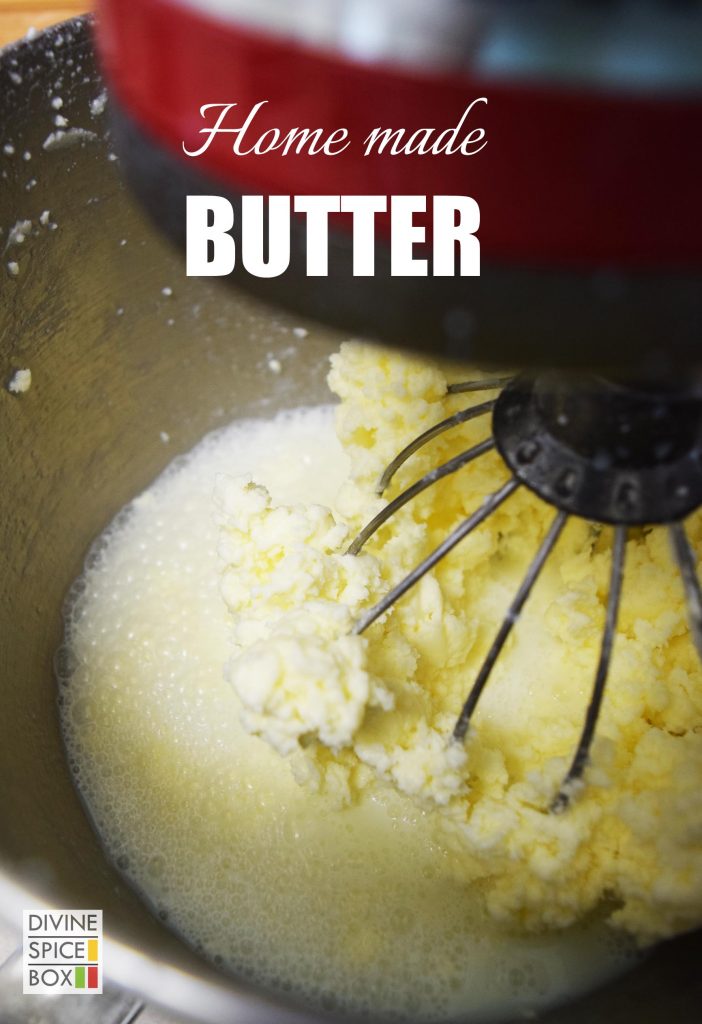
- Continue whisking the cream for another 2-3 minutes.The butter will start to separate in stages. After the stiff peak stage, further whisking leads to coagulation and the cream begin to split and granulate. No need to panic at this stage as this means it is coming along and the buttermilk is getting separated from the butter. It may seem like that you cannot see the butter separating but just like that, at one point, it would just separate into butter and buttermilk.
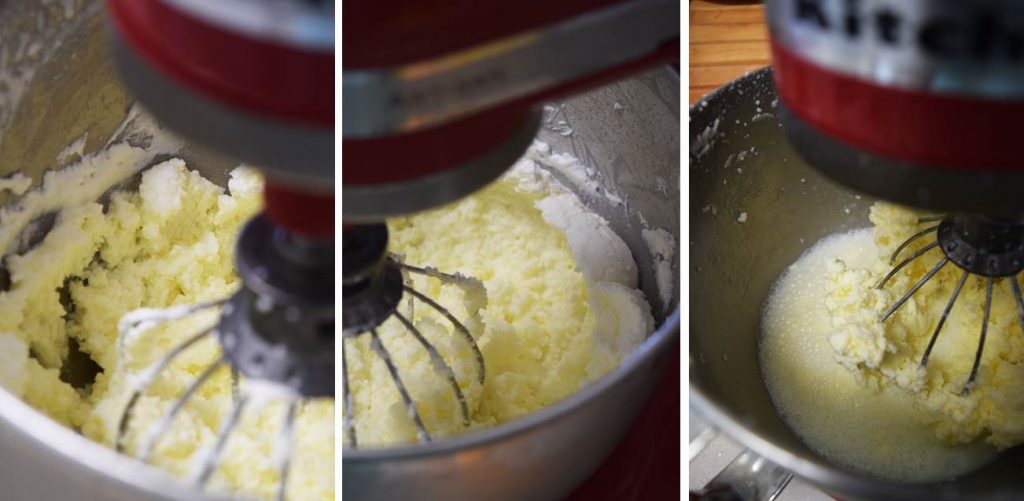
- Once the butter separates, use a spatula and push all the butter to one side leaving the buttermilk in the bowl. Sieve out the buttermilk in a separate container and refrigerate.
- Now, we will wash the butter to get rid off all the buttermilk. This step is essential so that the butter has increased shelf life or else the butter will spoil sooner.
- Add some cold water to the butter and whisk at the lowest speed for half a minute.
 The left over water will have a light whitish color.

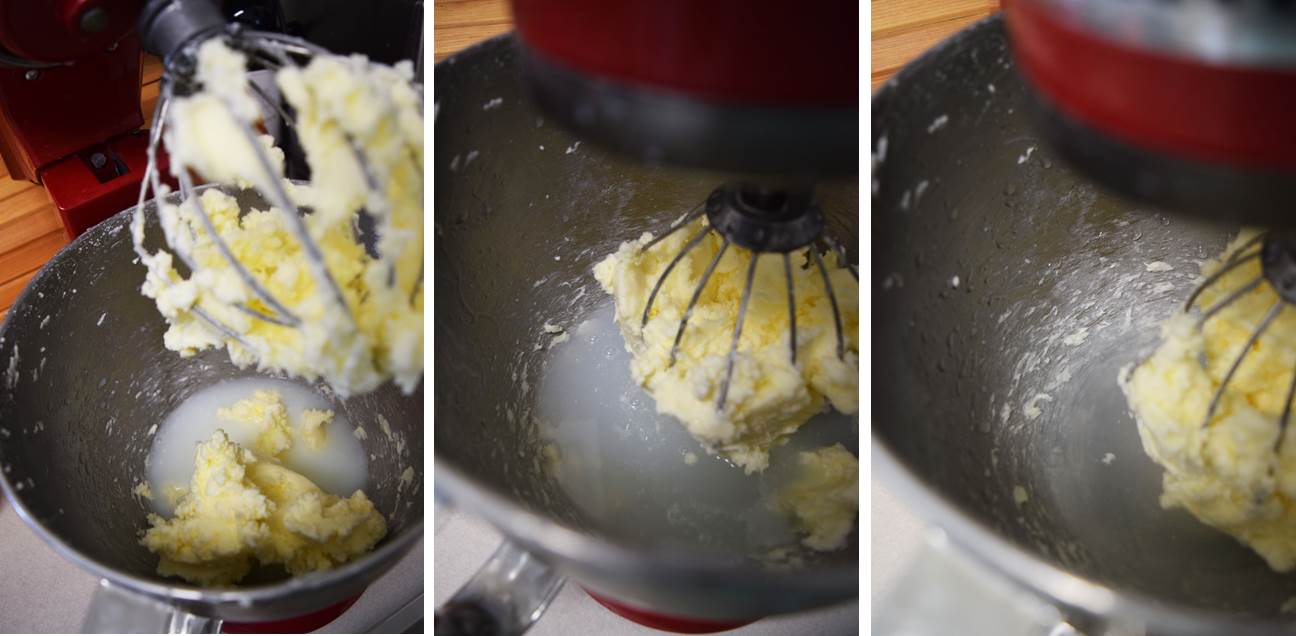
Discard this water and add some more and repeat the step. Do this a couple of times or till the water come out almost clean and transparent. The butter is ready to enjoy !
And that’s how it is done. Fresh, Cold, home made butter ready to enjoy in under 10 minutes !! So fast and so very delicious! It is almost magical to see how cream changes form to whipping cream and then just like that, it becomes butter !! The taste of this butter is so much better than the store bought. I left the butter unsalted but you can add salt and other flavours to it at this time. Enjoy with toasted bread !
Now, i am so excited to share the tutorial recipe for home made clarified butter/ Ghee 🙂


How wonderful! I bet that tastes good??!!
oh it so does.. i am never going back to store bought stuff again !!
Interesting..:)
Pingback: Yogurt dip with honey & Sriracha | Divine Spice Box
Pingback: Challah Bread | Divine Spice Box
Pingback: Challah Bread – Divine Spice Box
Pingback: Yogurt dip with honey & Sriracha – Divine Spice Box